
What’s Official Community?
There are various types of learning communities in Oracle Fusion Cloud Learn, and one of them is the Self-Service Community, which we have already explained. The Official Community is essentially the same as the Self-Service Community, with the only difference that it is created by the learning administrator rather than learners. The functionalities remain same, which we explained earlier.
In this article, we will walk you through the steps to configure an Official Community. However, if you are new to the concept of learning communities, we recommend starting with this article » Learn to Configure and Use Self-Service Community.
Configure Official Community
Navigation : My Client Group » Learning » Learning Catalog » Communities
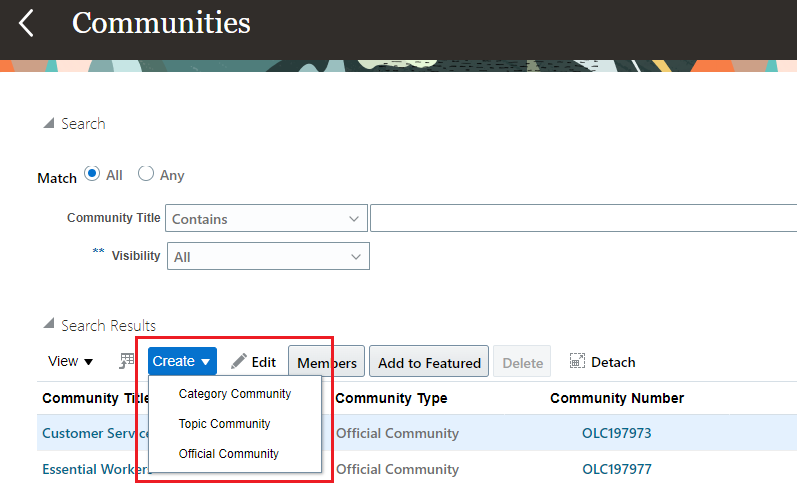
On the Communities page, in the search result section, click on Create button and you will see following three options
- Category Community
- Topic Community
- Official Community
Select last option that is Official Community, which will take you to Create Learning Community page.
On the Create Learning Community page in the Learning Community section enter details as follows
- Community Name : Onboarding Community
- Community Type : <will be set to Official Community>
- Branding Image : You can use this image, if you wish to https://i.postimg.cc/T3WLKHf7/oc.jpg
- Description : Join the official Onboarding Community, your compass for navigating the journey of welcoming new members into your organization. This dynamic community is your hub for sharing insights, best practices, and resources related to employee onboarding.
Scroll below to User Privacy Settings section and enter details as follows
- Privacy : Open
- Member Contributions : Disable
- Comments : Enable following two check boxes
- Override conversation system setup configuration
- Enable conversations for self service users on the catalog page
Scroll down further and optionally you can upload any related documents in the Related Materials section. Once done, click on Submit button, this will create official community and take you to Onboarding Community : Learning Community page

On your left hand side you will see following options
- Definition
- Assignments
- Catalog
- Administrator Conversation
- Self-Service Conversation
- Membership
Learn to Add Learning Items in the Community
Click on the Catalog link. In the Catalog section, click on Add Learning Item then select option Select and Search. This will open a Select Learning Item pop-up page. Here you can select and add few courses or any other learning item that would be beneficial to new joiners. Its okay, if you select some irrelevant learning items for the practice purpose. You can select some courses we have configured earlier such as Digital Marketing Fundamentals you can even add another self-service community Marketing Mastery Hub we configured earlier.
Learn to Add Member in the Community
Click on Membership tab to add members in the community. When you click on Add you get following three options
- Add Member
- Add Required Member
- Add Manager
You can try to add one member of each category to understand the difference. Let’s try with first option that is Add Member. This will take you to Add Member page. On this page first enter a note “Welcome to the official onboarding community!” that members will see.
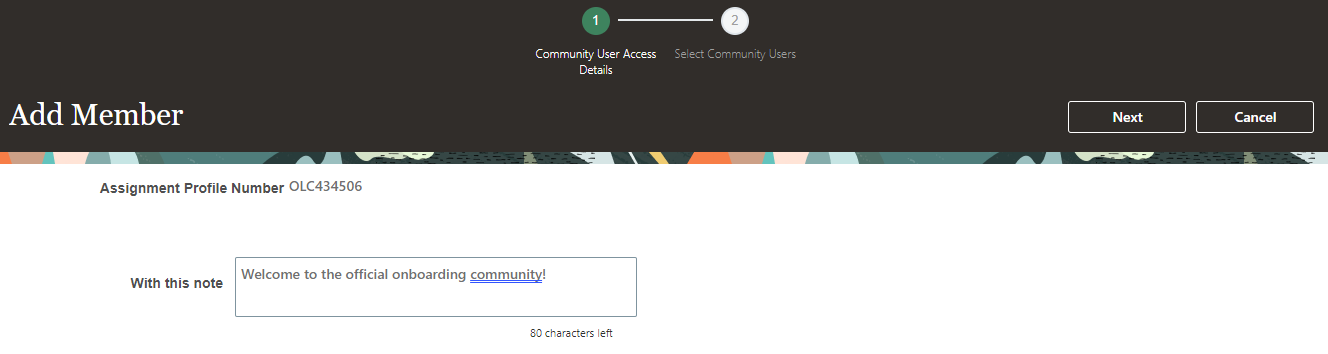
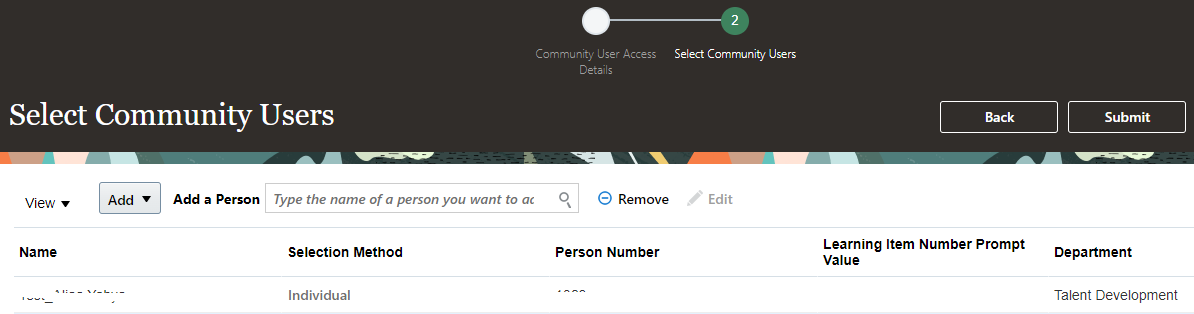
Once done, click on Next button which will take you to Select Community Users page. Click on the Add button and you will see following options.
- Person
- Person Number List
- Analysis Criteria Report
- Learning Assignment Criteria
- Organization Chart Criteria
- Persons Criteria
We will discuss about all these options when we will cover Learning Initiative, but for now select option Person and manually search an individual in the Add a Person field.
Once done, click on Submit button and you will get confirmation message “New members are being added and may take several minutes…“. This will run a process in the background to add member(s) to the learning community. In the meantime, you can follow same steps again to add member for following two member types.
- Add Required Member
- Add Manager
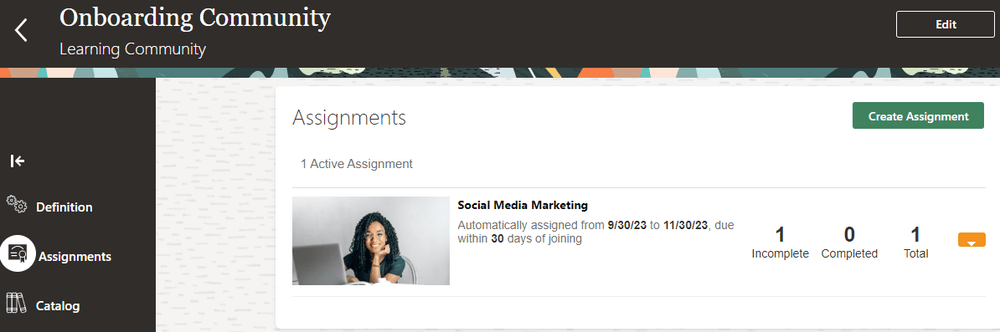
Learn to Add Assignments Through Community
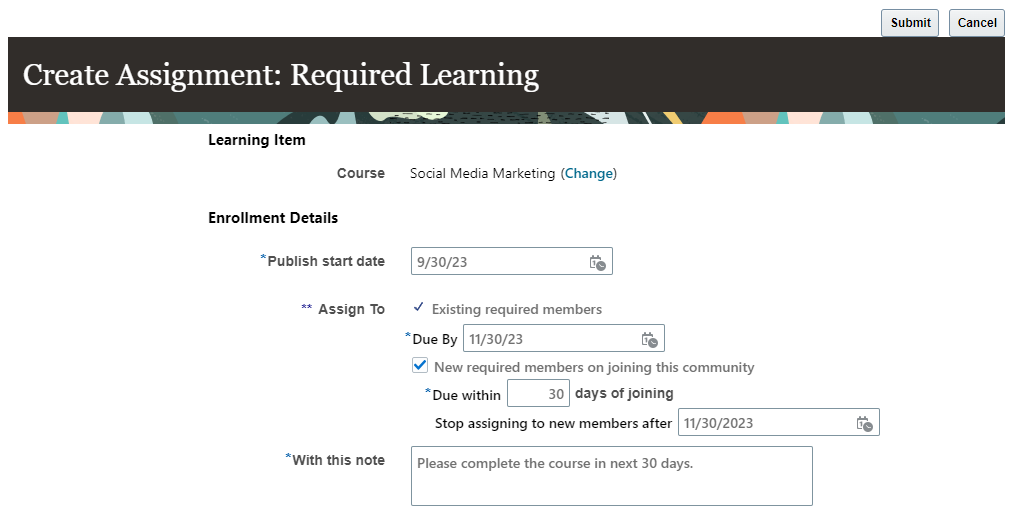
Click on Assignments tab. In the Assignments section, click on Create Assignments button. This will open Select Item : Catalog page. Search for any course that you would like to assign to community members. For this exercise we have selected Social Medial Marketing, which we configured earlier. This will take you to Create Assignment: Required Learning page. On this page, enter details as follows
- Publish Start Date : Keep todays date
- Assigned to : This is selected as “Existing required members”
- Due By : Select last day of the next month
- Uncheck and select “New required members on joining this community” again
- Due within 30 days of joining
- Stop assigning to new members after : select 30th November of the current year.
- With this note : Please complete the course in next 30 days.
Once done, click on Submit button. This will run a process in the background to assign learnings to the selected assignments and then show a dashboard/count of assignments received learning.
Click on the Actions button in the Assignments section and you will see following three options
- Edit Assignments : Using this you can update the assignment criteria you selected earlier. Click on this option, verify the details but click on Cancel button to return back.
- Manage Learners : This option will allow you to manager learners. Click on this option, verify the page make a note of member who have got this assignment and then click on back arrow button to return back.
- Reconcile : Click on this and a process will be submitted to reconcile the dashboard count.
Learn to Make Community Featured
As you have earlier made a course and specialization featured, we can make a community featured too. On the Communities page, search for the community we just created. While the community name is selected in the search result section, click on the Add to Featured button. Once that community is featured, button name will be changed to Stop Featuring.
Explore Official Community As Required Member
Login as employee and navigate to My Learning Communities page, ensure you have selected I’m a Member Of button, you will find you are part of Onboarding Community. Label for this community is set to Official Community.
Click on the community name to open it. You will also notice a blue verified tick associated with community name on the Learning Community Details page.
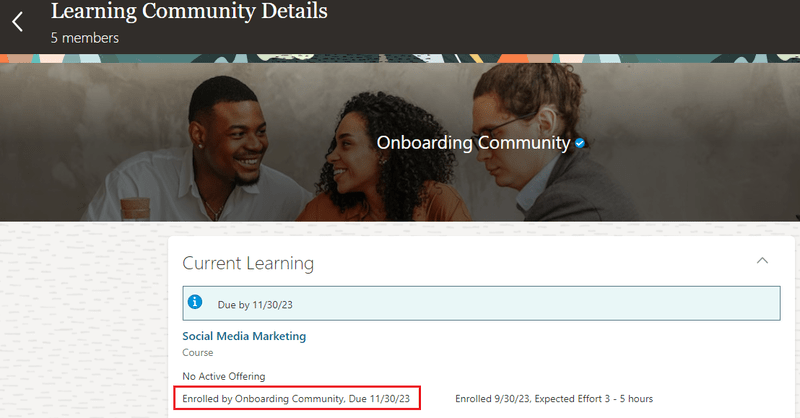
You will also notice that Social Medial Marketing course is assigned to learner and the same is displayed in the Current Learning section. Enrolled by is set to Onboarding Community.
You can enroll to this course and complete it. You can click on Actions button and see various options that we have already explored in the self-service community article.
You can also login as different users such as non-required member and manager to explore official community.
Have Questions?
In this article, we explored the Official Community concept, gaining practical insights into how it operates and the process of adding members and assigning them learning contents. We trust that you’ve been able to follow our guidance and enhance your understanding of the Official Community concept.
Should you have any questions or require further clarification, please don’t hesitate to post them on our dedicated question and answer forum.


